
Restoring a vintage Airstream tips and tricks
Posted by Erman Oz on 27th Jan 2022
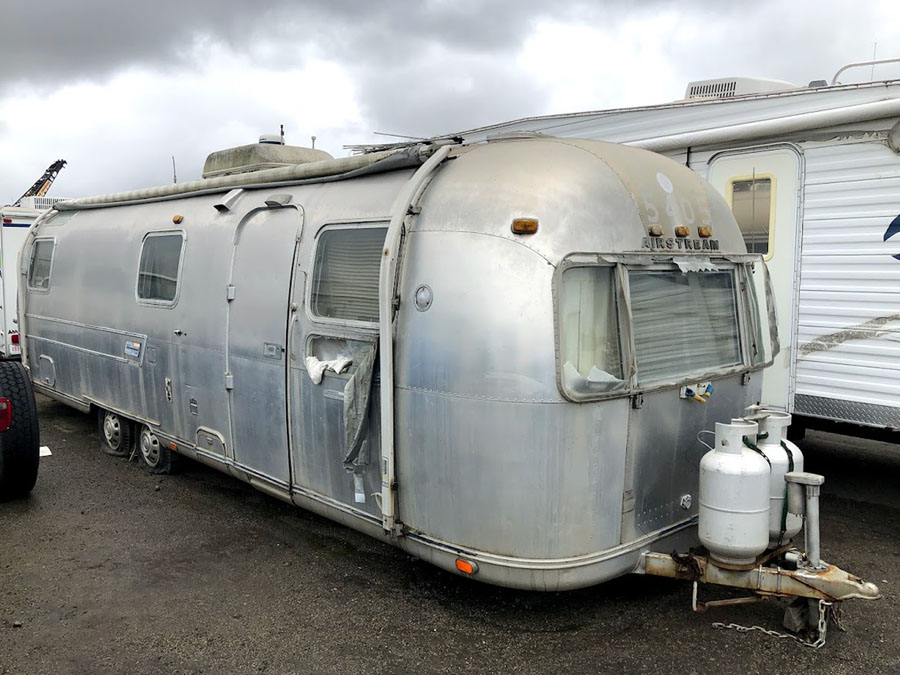
This 31 ft. 1973 Airstream Sovereign had a wonderful life traveling all over the United States before being parked at a local storage lot in Santee, Ca. Unfortunately, a storage life of many years wasn't kind to her. First, being in the open lot under harsh Southern California sun, she developed many leaks. Then, it was under covers for a while, where mold flourished. She was even broken into at some point through the vista window by the door.
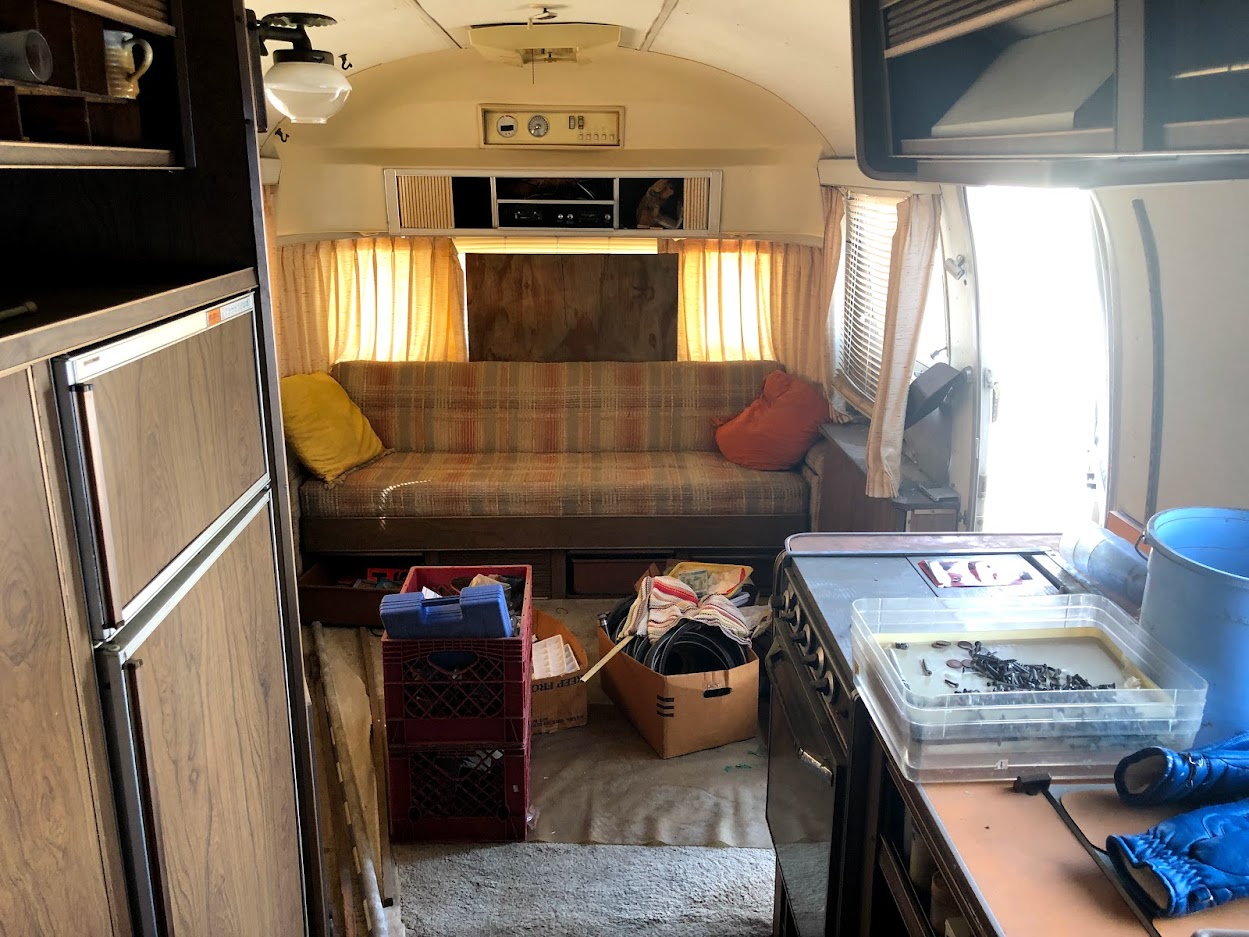
Before
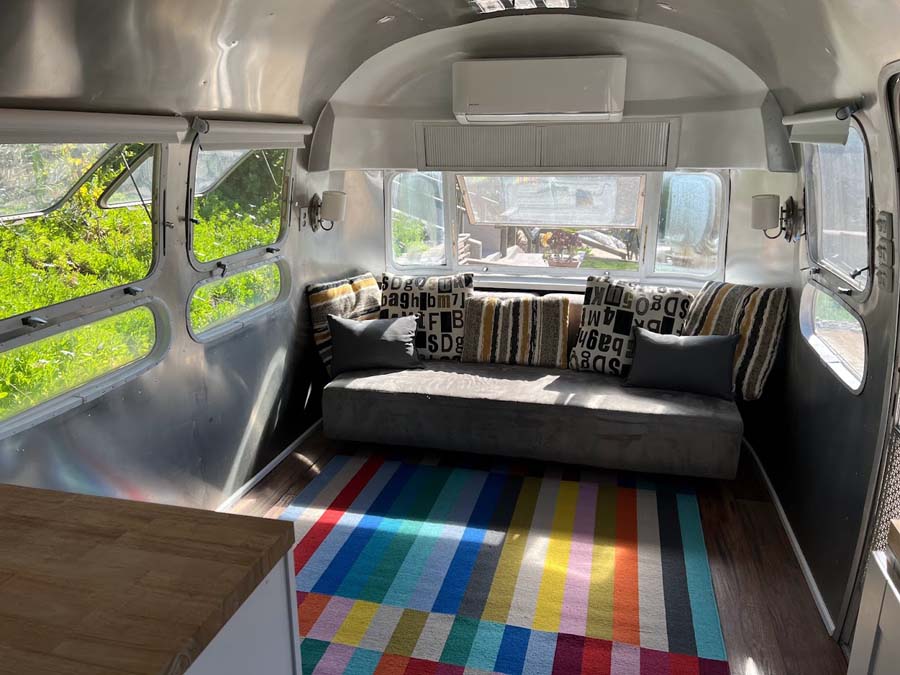
After
The first step was to get her new shoes and replace the rotted flat tires. Next, we packed the bearings with grease and got her back on the road to her next destination, where she will be parked permanently in my backyard and converted to an Airstream guest house.
The original plan was to do a fast, easy restoration convert her to a living space with residential comforts. I was confident I could knock this out in a few months. Instead, 2.5 years and thousands of rivets later, I am finally done with the interior. In my defense, I only worked on it some weekends and did 95% of the work by myself.
A lot of research, trial and error went into this work; and I learned a lot. So here I will share my experience and recommendations for do's, don'ts, and my favorite modifications.
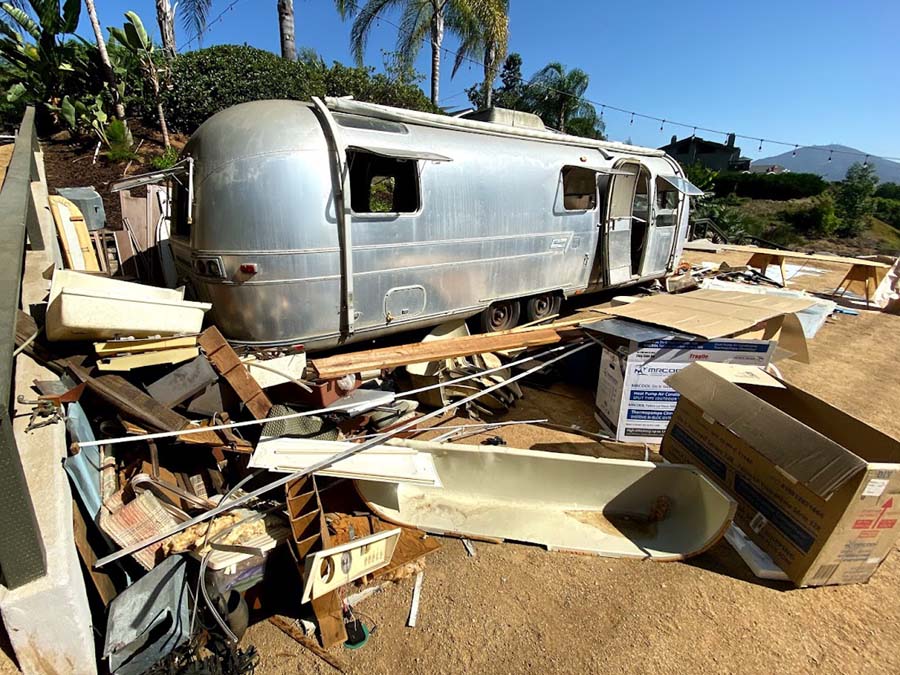
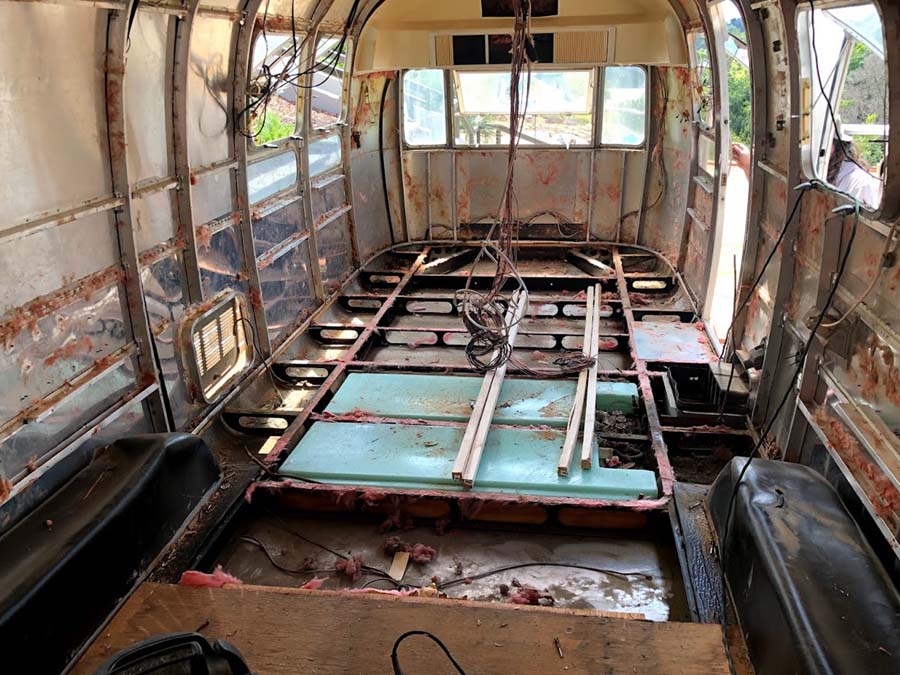
Everything had to go!
The interior was old, dirty, musty, with many water leaks from every corner. We removed everything and gutted it completely. Furniture and cushions were trashed. Appliances are sold cheap locally, so they can be repurposed. Interior wall skins were removed and dropped to a local recycling facility. (They even paid some cash for the aluminum!)

Shell off restoration? Not really.
Do you need to pull the shell off to replace the old rotted plywood on an Airstream? Not really. Carefully cut around the plywood and remove, leaving a small part of the old plywood in the U channels. Then remove the remaining plywood from the U channels small sections at a time and replace it with new plywood. The trick is to install the new plywood in the U channels in small sections so that the U channels won't collapse with the weight of the shell.
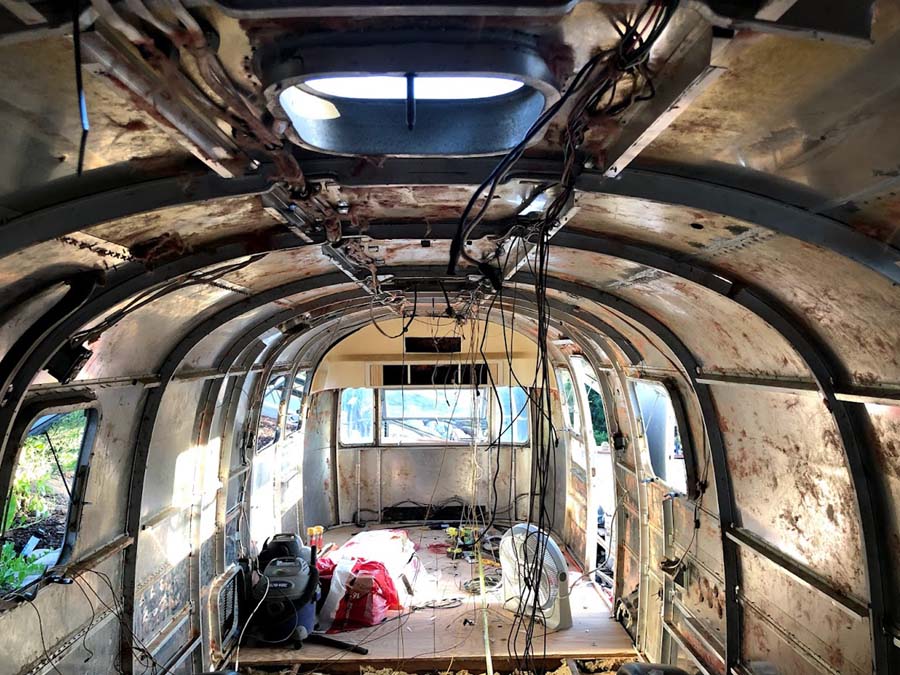
Wiring
Left most of the 110v wiring in original locations. Removed most of the 12v wiring and relocated to where I wanted the lights and switches. Added many additional wiring locations and switches for under furniture lighting, in-wall lighting, and exterior lights.
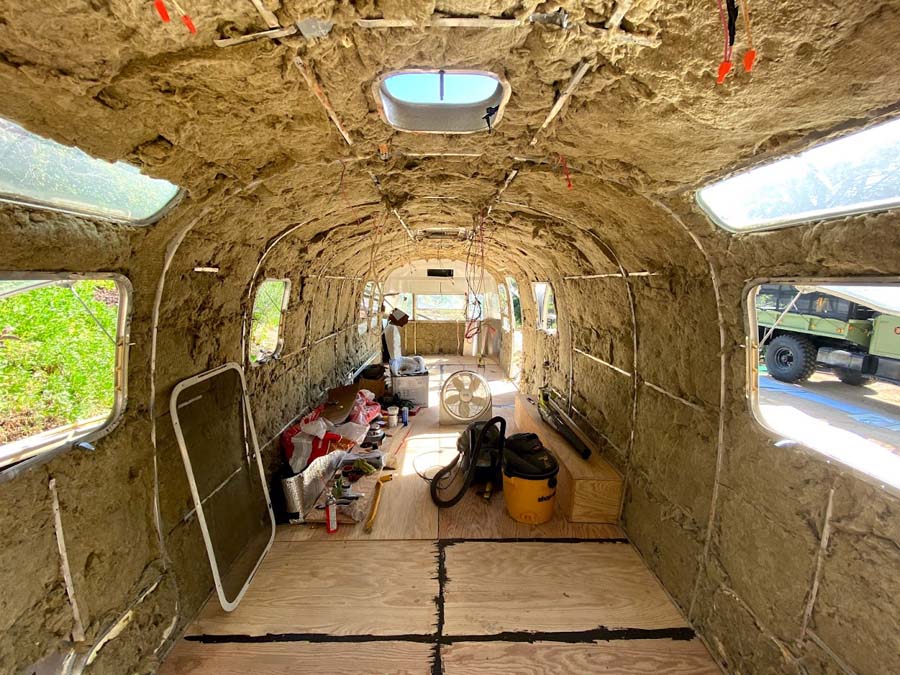
Insulation:
Rodents love the pink insulation old Airstreams have. That had to go. There are many much better options out there. I decided on the Rockwool. It is in the name, it is made from rocks, fire-resistant, rodents avoid it, and excellent r rating.
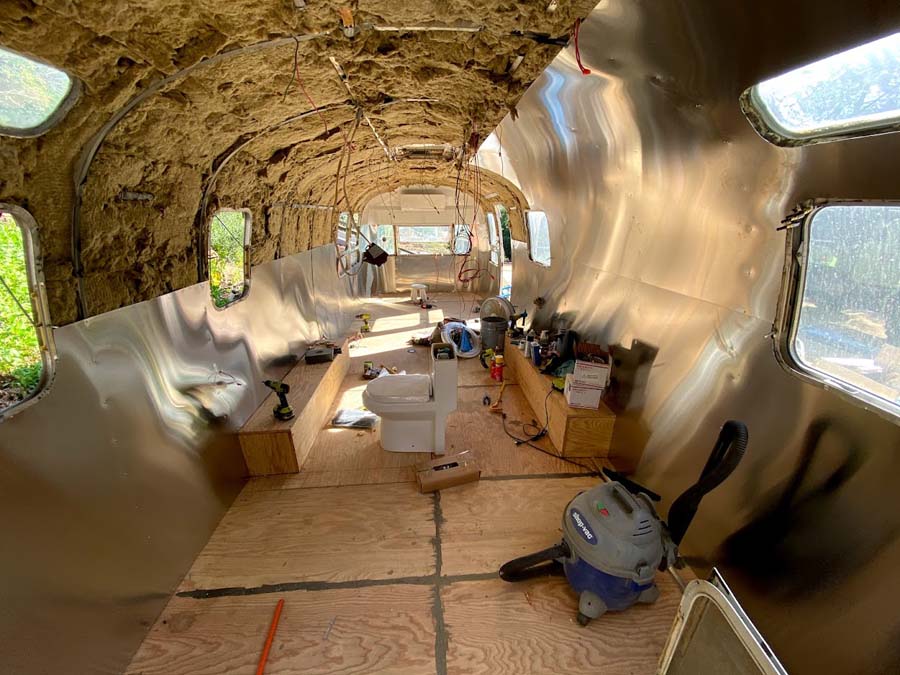
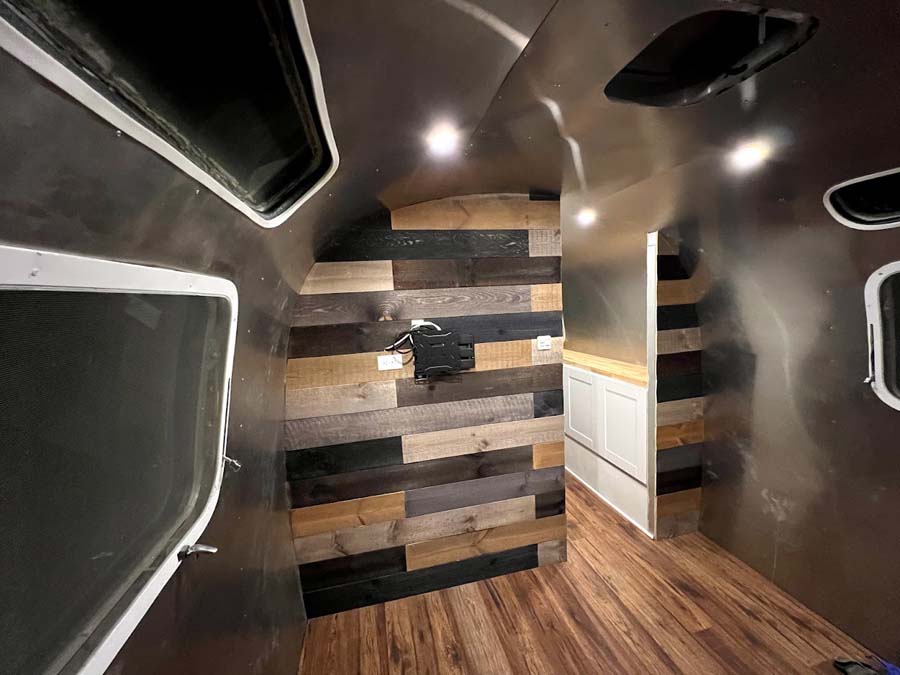
Interior walls.
Aluminum sheets were sourced from my local metal shop. I measured it twice and cut it once. New aluminum sheets were wider than the original ones, so I cut them slightly from the original skins. Unfortunately, I couldn't source the original width, and I didn't want extra cuts. Luckily, I have a 2017 airstream that I used as a template and copied the measurements for the interior aluminum skins for a modern look without doing any extra cuts. Installing the walls was a two-person job. One person to hold it in place and the other to rivet.
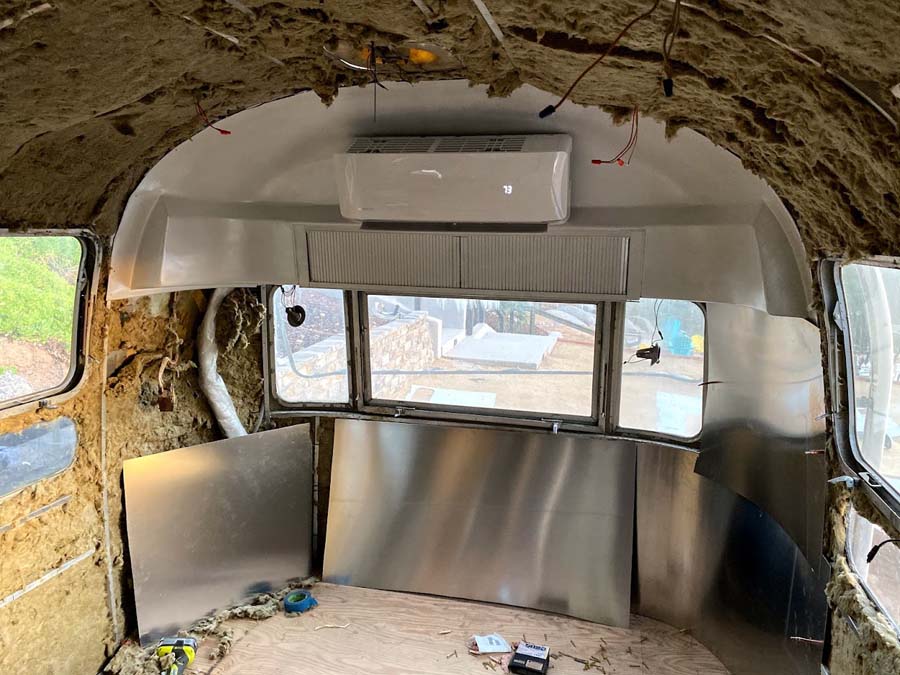
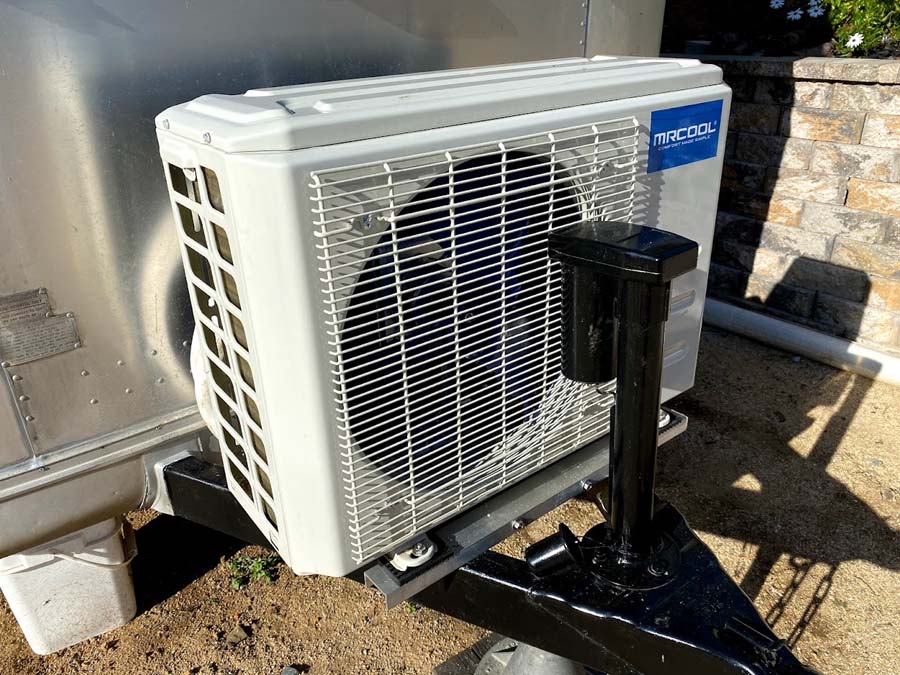
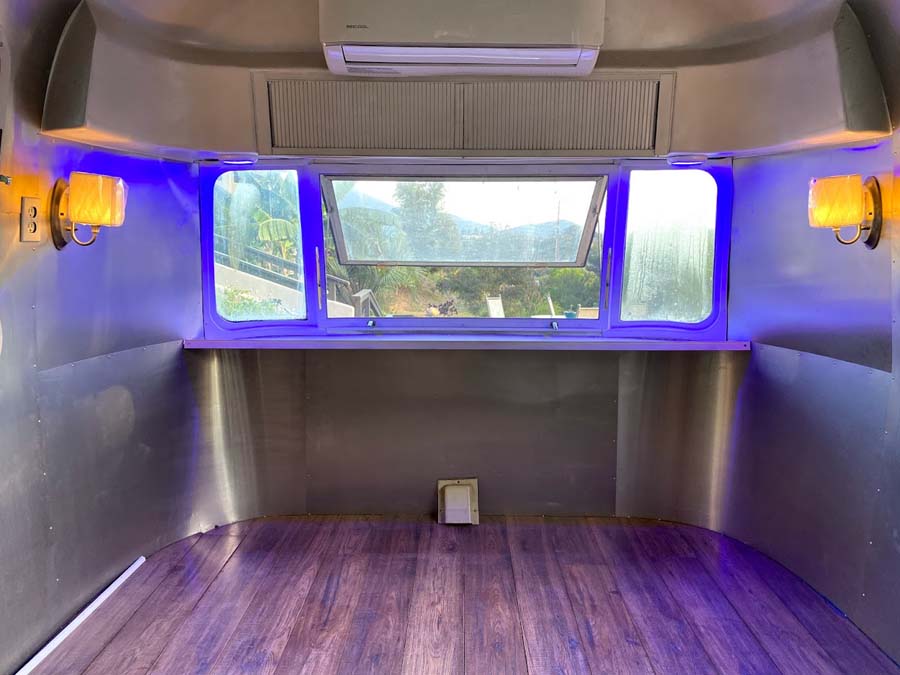
AC
Removed the old, clunky, noisy, inefficient rooftop ac and installed a quiet, very efficient split AC system. It is so silent I wasn't quite sure if it was working the first time I turned it on. It also has a heat pump, and it will be the primary heating unit for the Airstream during mild SoCal winters. This AC is designed to cool down spaces up to 500 sqft, so it gets ice cold in the Airstream real fast. This Airstream is now fully electric. Installed the AC Compressor where propane tanks used to be. Ran the wires and pipes through the walls to the end cap where the interior unit was installed. Looks great works great. It even has a Wi-Fi connection to remotely monitor and control the AC system.
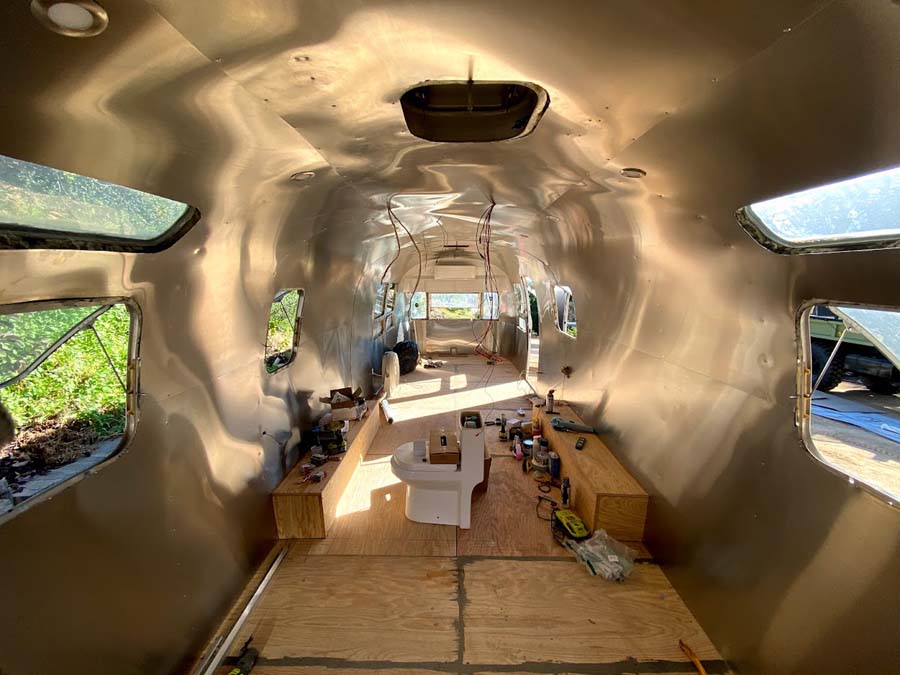
Designing the interior; Airstream the Master Suite:
I went with design as you go way, with the primary objective being spacious with residential comforts. Printed out a template for the floor plan and started hand drawing. After many sketches settled on this plan with the rear bedroom. I used a few tricks to give a "big space" illusion: cabinets built on the wheel wells seamlessly and countertop stretching next to the hallway with no overhead storage.
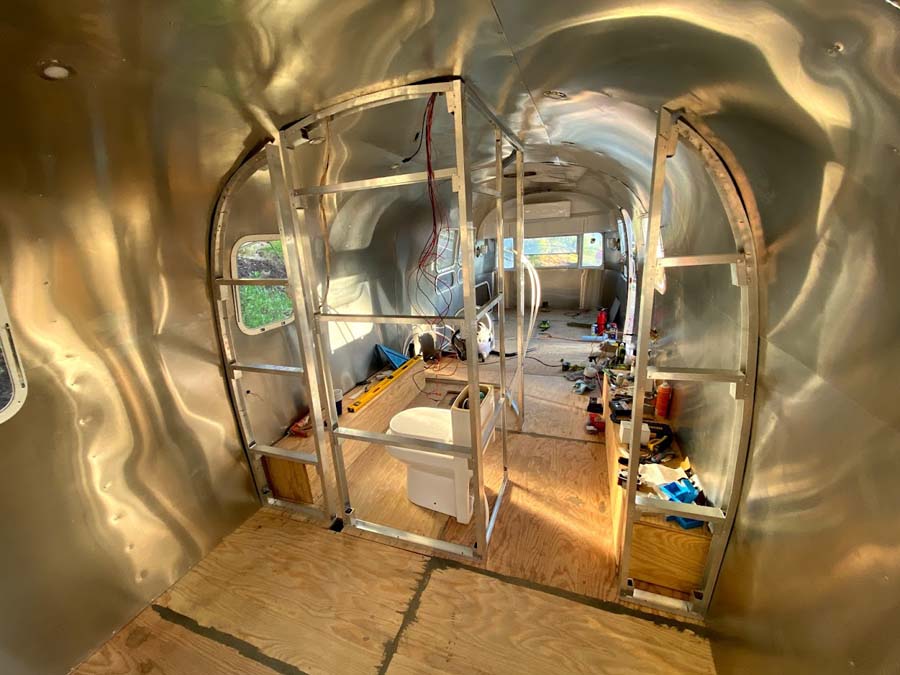
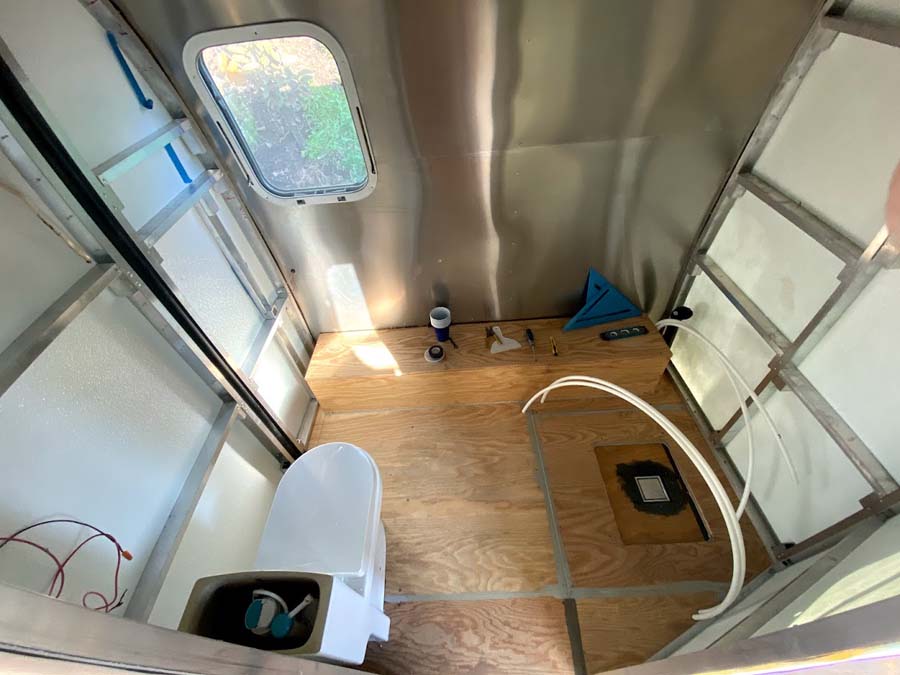
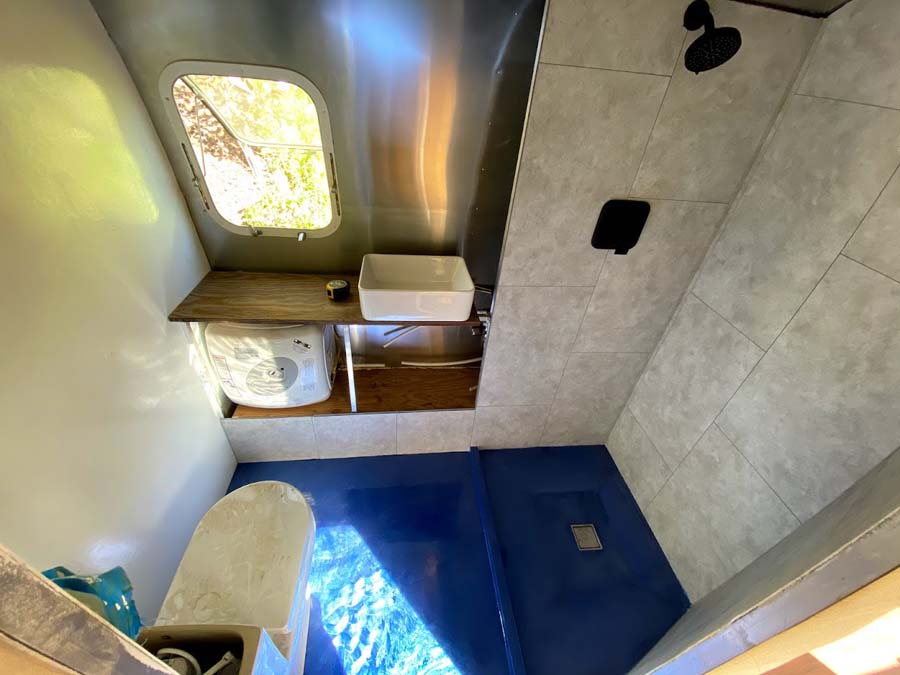
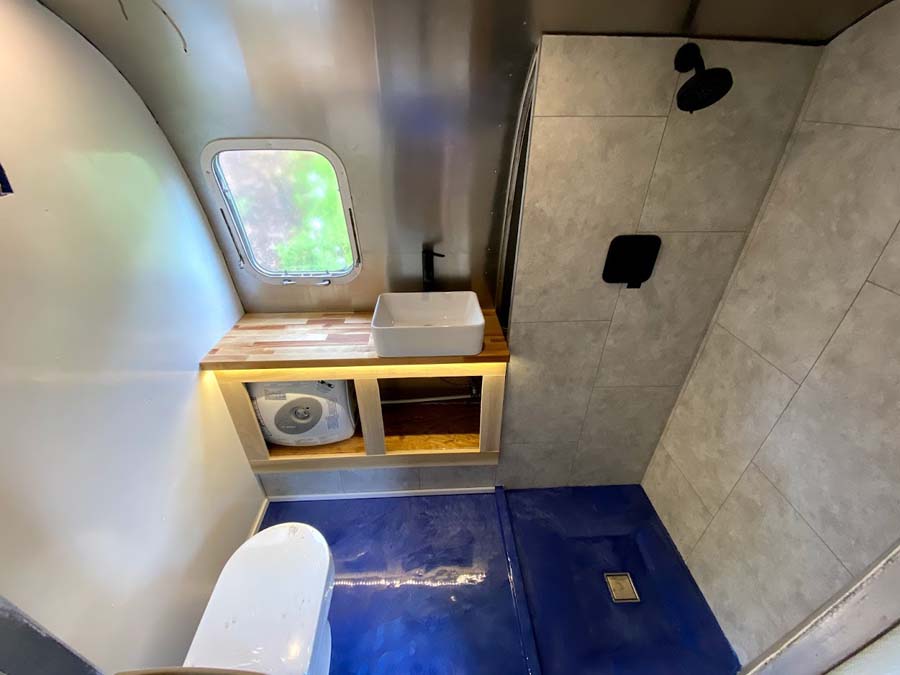
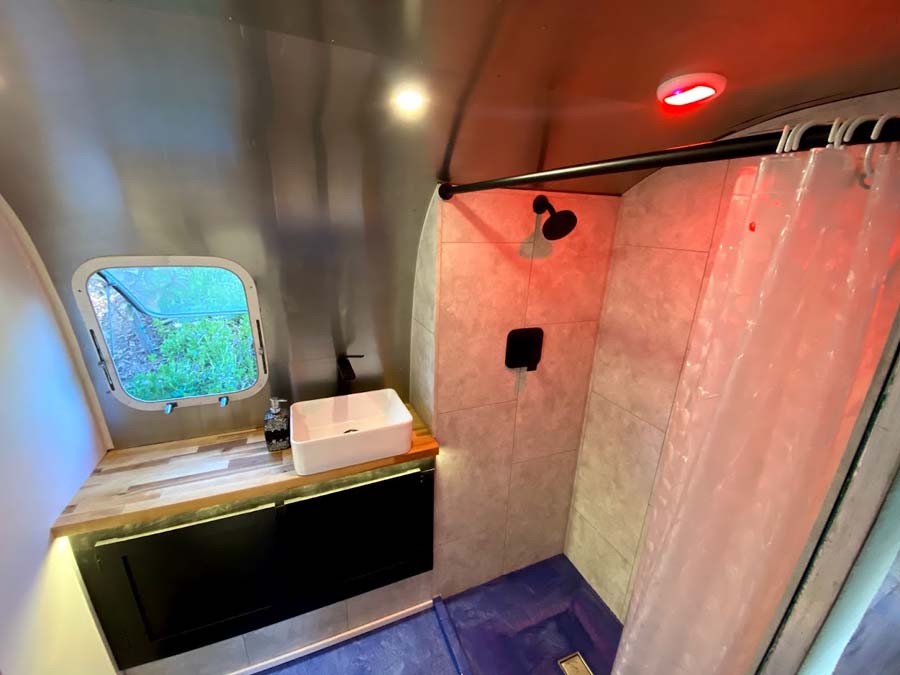
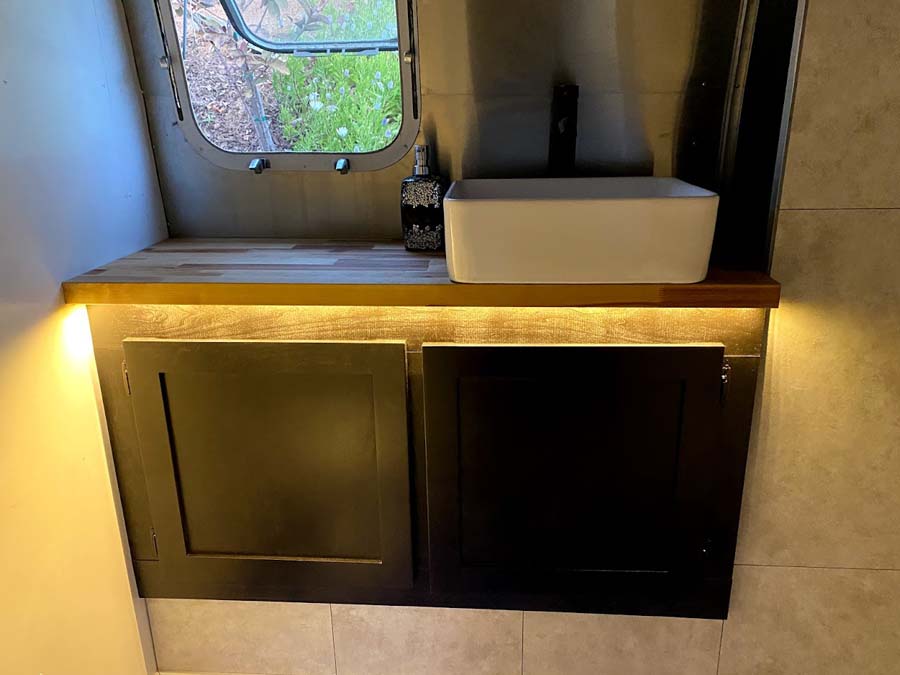
Building the vanity and the shower wall right on the wheel well concealed it entirely for the bathroom. I wanted the shower and bathroom floors to be the same, stretching from end to end (another trick for big space illusion). The main challenge was to place the shower drain slightly under the floor level for proper drainage. So I stepped down the shower drain with another layer of plywood, leaving just enough space for the P trap under the floors. Finally, I sealed the bathroom floors with beautiful blue-metallic epoxy from end to end. This design allowed me to have enough space for a residential shower and an elongated residential toilet.
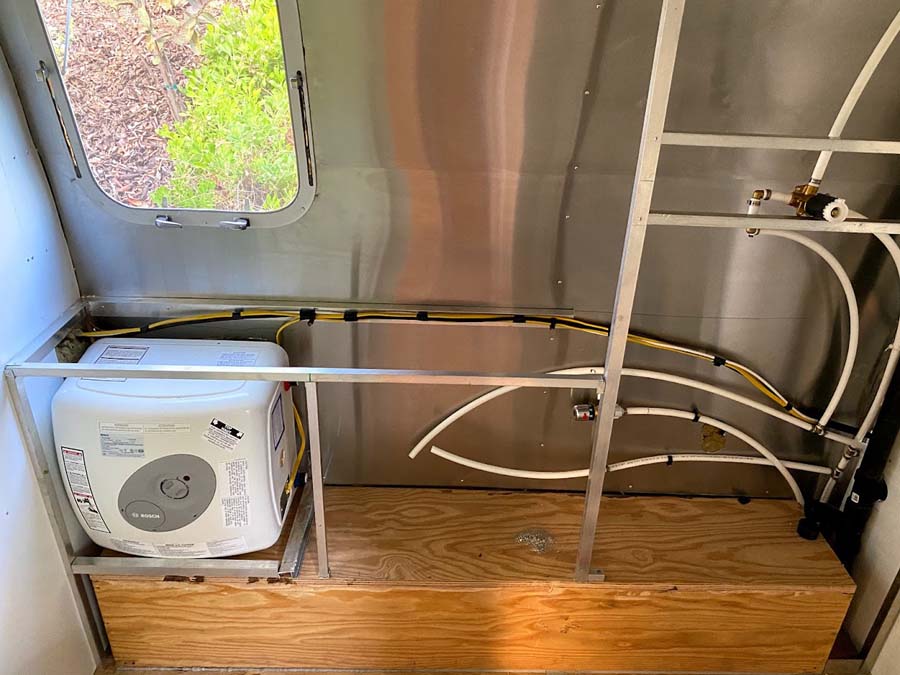
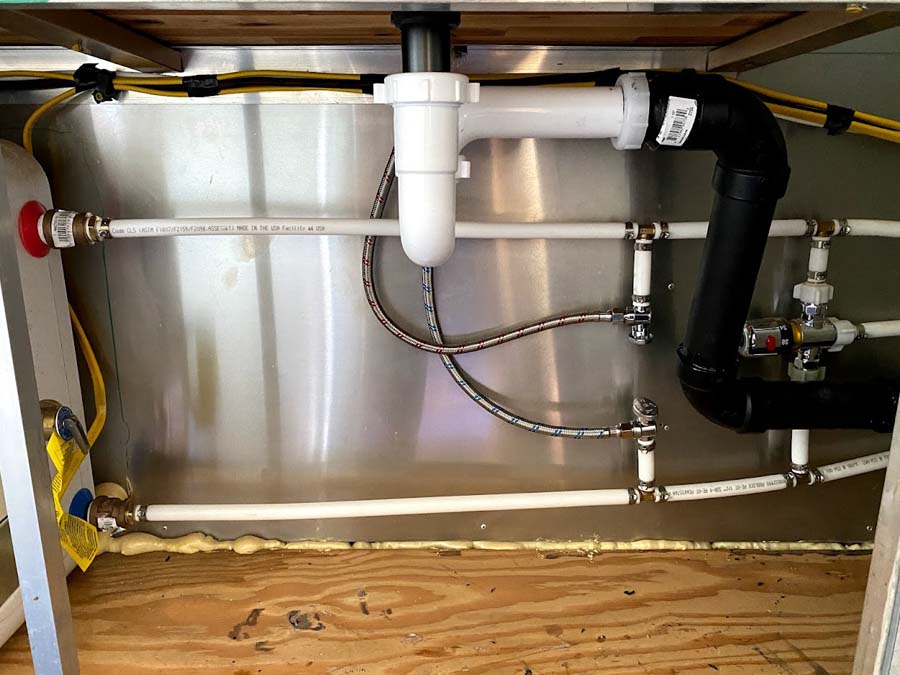
Plumbing:
Designed and installed Pex plumbing throughout for freshwater. Pex plumbing is straightforward to install; just make sure you tighten every connection before pressuring the system. For wastewater, the toilet is connected directly to my septic system, while the shower and the sinks are connected to a separate gray water plumbing which reclaims the output to water my fruit trees.

Lighting
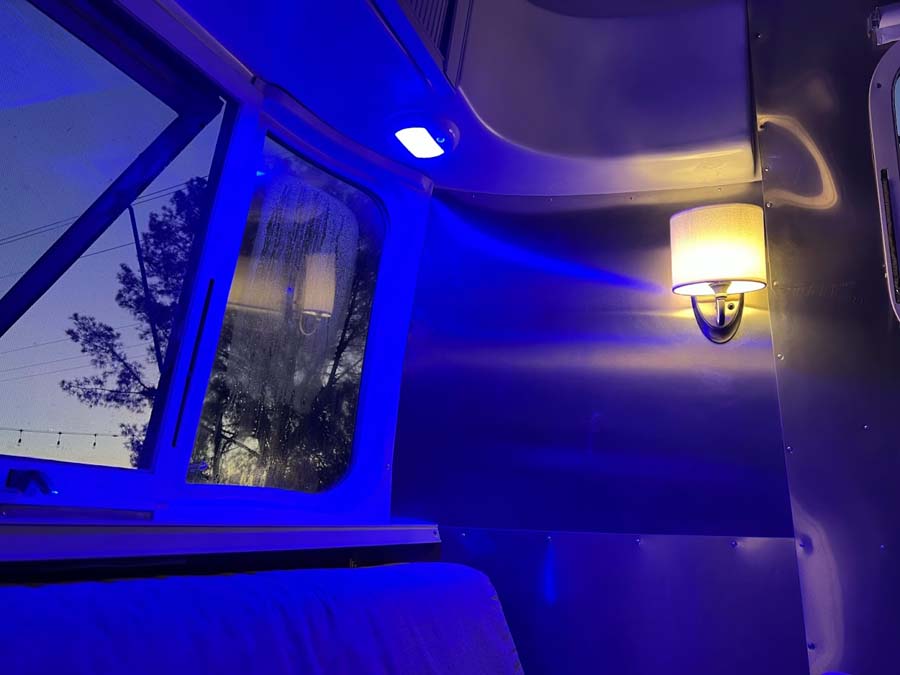
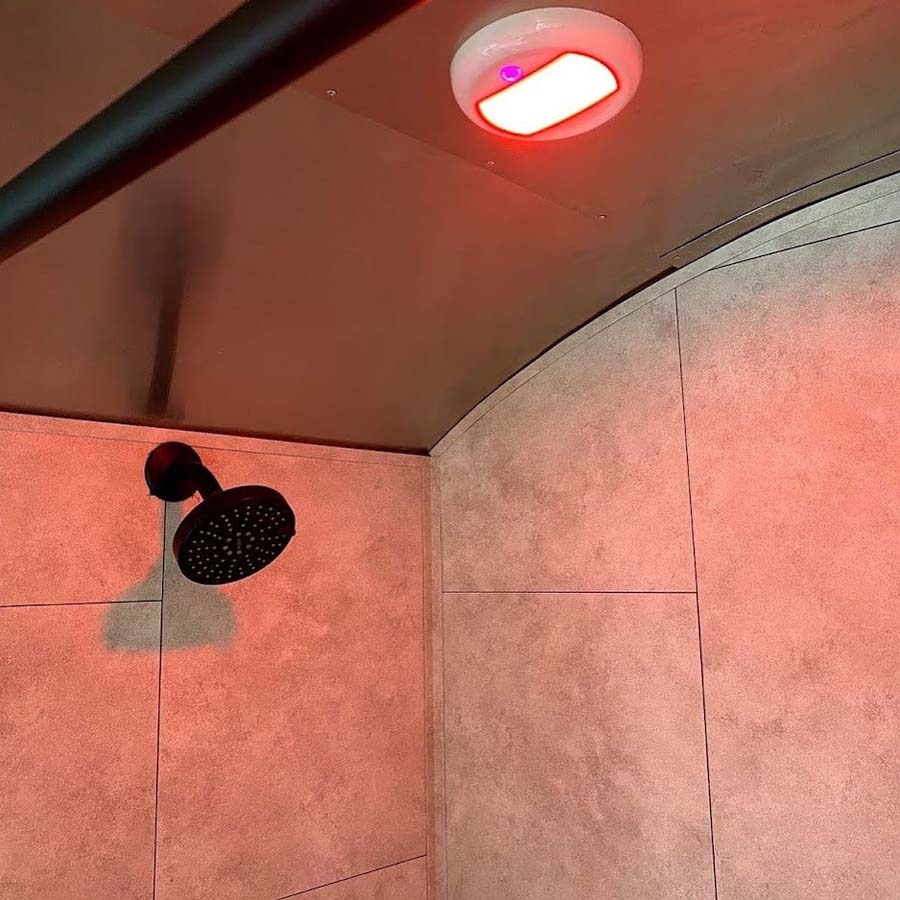
I designed the lighting to be off-grid to function independently, even in emergencies. The lights and the fans are on 12v, with a backup battery and solar charger. Installed recessed 12v LED lighting throughout the ceiling. I used LED strip lights under the counters and furniture for ambient lighting. Also installed multi-color LED (white, red, blue) RV lights by the front window and shower ceiling.
Furniture
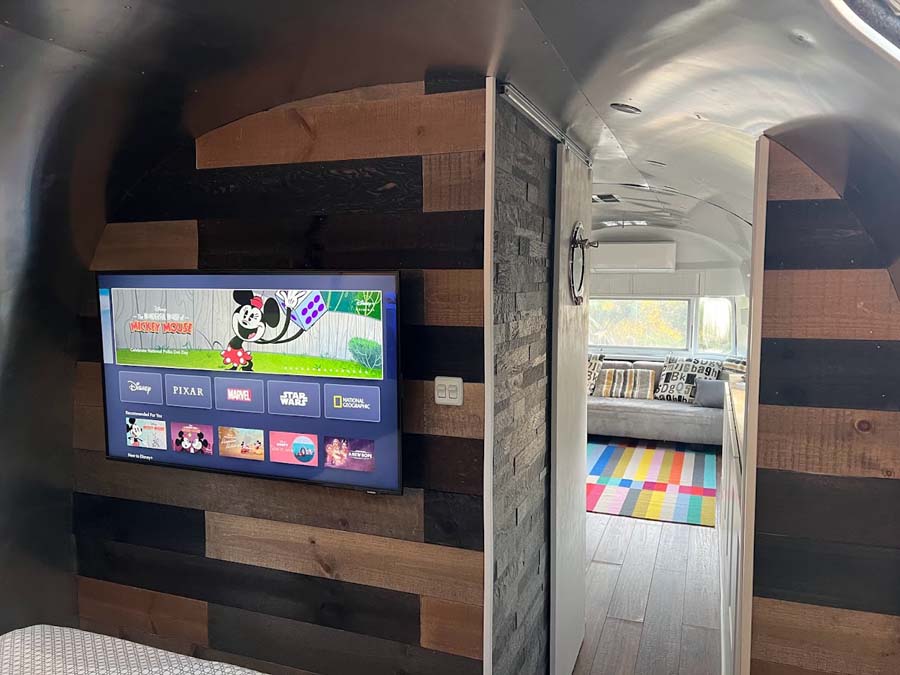
With the open floor design, I was able to fit all residential furniture in, including A low-back couch, a high bed frame for lots of storage under, and a comfortable residential queen bed.

Final Result, Airstream the Master Suite
This Airstream turned exactly how I imagined with lots of space and residential comforts. The interior was carefully designed to accomplish this; all tanks, furniture, plumbing, and RV appliances were removed and replaced with residential ones. Electrical was upgraded to 50a to accommodate fully electric appliances, including a water heater, AC/heat pump, fridge, and stove. Even though it doesn't have any tanks, this Airstream is designed to fully function with full hookups in any RV or state park. However, this Airstream will be parked in our backyard and enjoyed by many in beautiful San Diego.
Product recommendations:
OZ-USA Premium RV lights for your Airstream.
We manufacture these lights! Fantastic lights for new or vintage Airstreams. They can be easily installed on the ceiling, under the cabinets. Waterproof design is excellent for bathroom and exterior lighting too. Impact-resistant polycarbonate housing makes these lights are very strong! You can drive your truck over them strong! Very bright, dimmable, multicolor lights controlled by a sophisticated touch switch.

Below are our other favorite products and brands we used during this restoration. We have no relationship with these brands. We never received products or perks from them. We are not compensated for our recommendations in any way. We loved these products and had a great experience working with them.
Dumawall waterproof wall tiles
This option was the best we found for the shower walls. I would highly recommend this for any airstream bathroom shower restoration. Interlocking tiles create a waterproof surface. Easy to work with, easy to cut. It is lightweight, and it looks like a natural tile.
Tic Tac peel and stick real stone tiles.
This company has other peel and stick products too. But make sure to get the "real stone tiles." It looks natural because it is made with real stone. Great for airstream kitchen backsplash or accent wall. They are reasonably lightweight and easy to work with.
Butcher block countertops
They look great. Relatively easy to work with and cut. Weight is acceptable for use in an Airstream trailer. A bit on the heavier side but not as heavy as granite countertops. Readily available in most local home improvement stores.
Pex plumbing
Pex plumbing is an excellent choice for restoring an Airstream. It is flexible and super easy to install. All you need is a PEX crimping tool. PEX tubing is widely available in local hardware stores and reasonably priced. In addition, PEX plumbing is resistant to corrosion and freezing water.